As an appraiser for Rarequiste, Q’s most heartbreaking moment is not seeing a fake, but seeing a centuries-old piece of silver washed as pale as stainless steel.
Regarding silver care, a common mistake beginners make is: Over-cleaning.
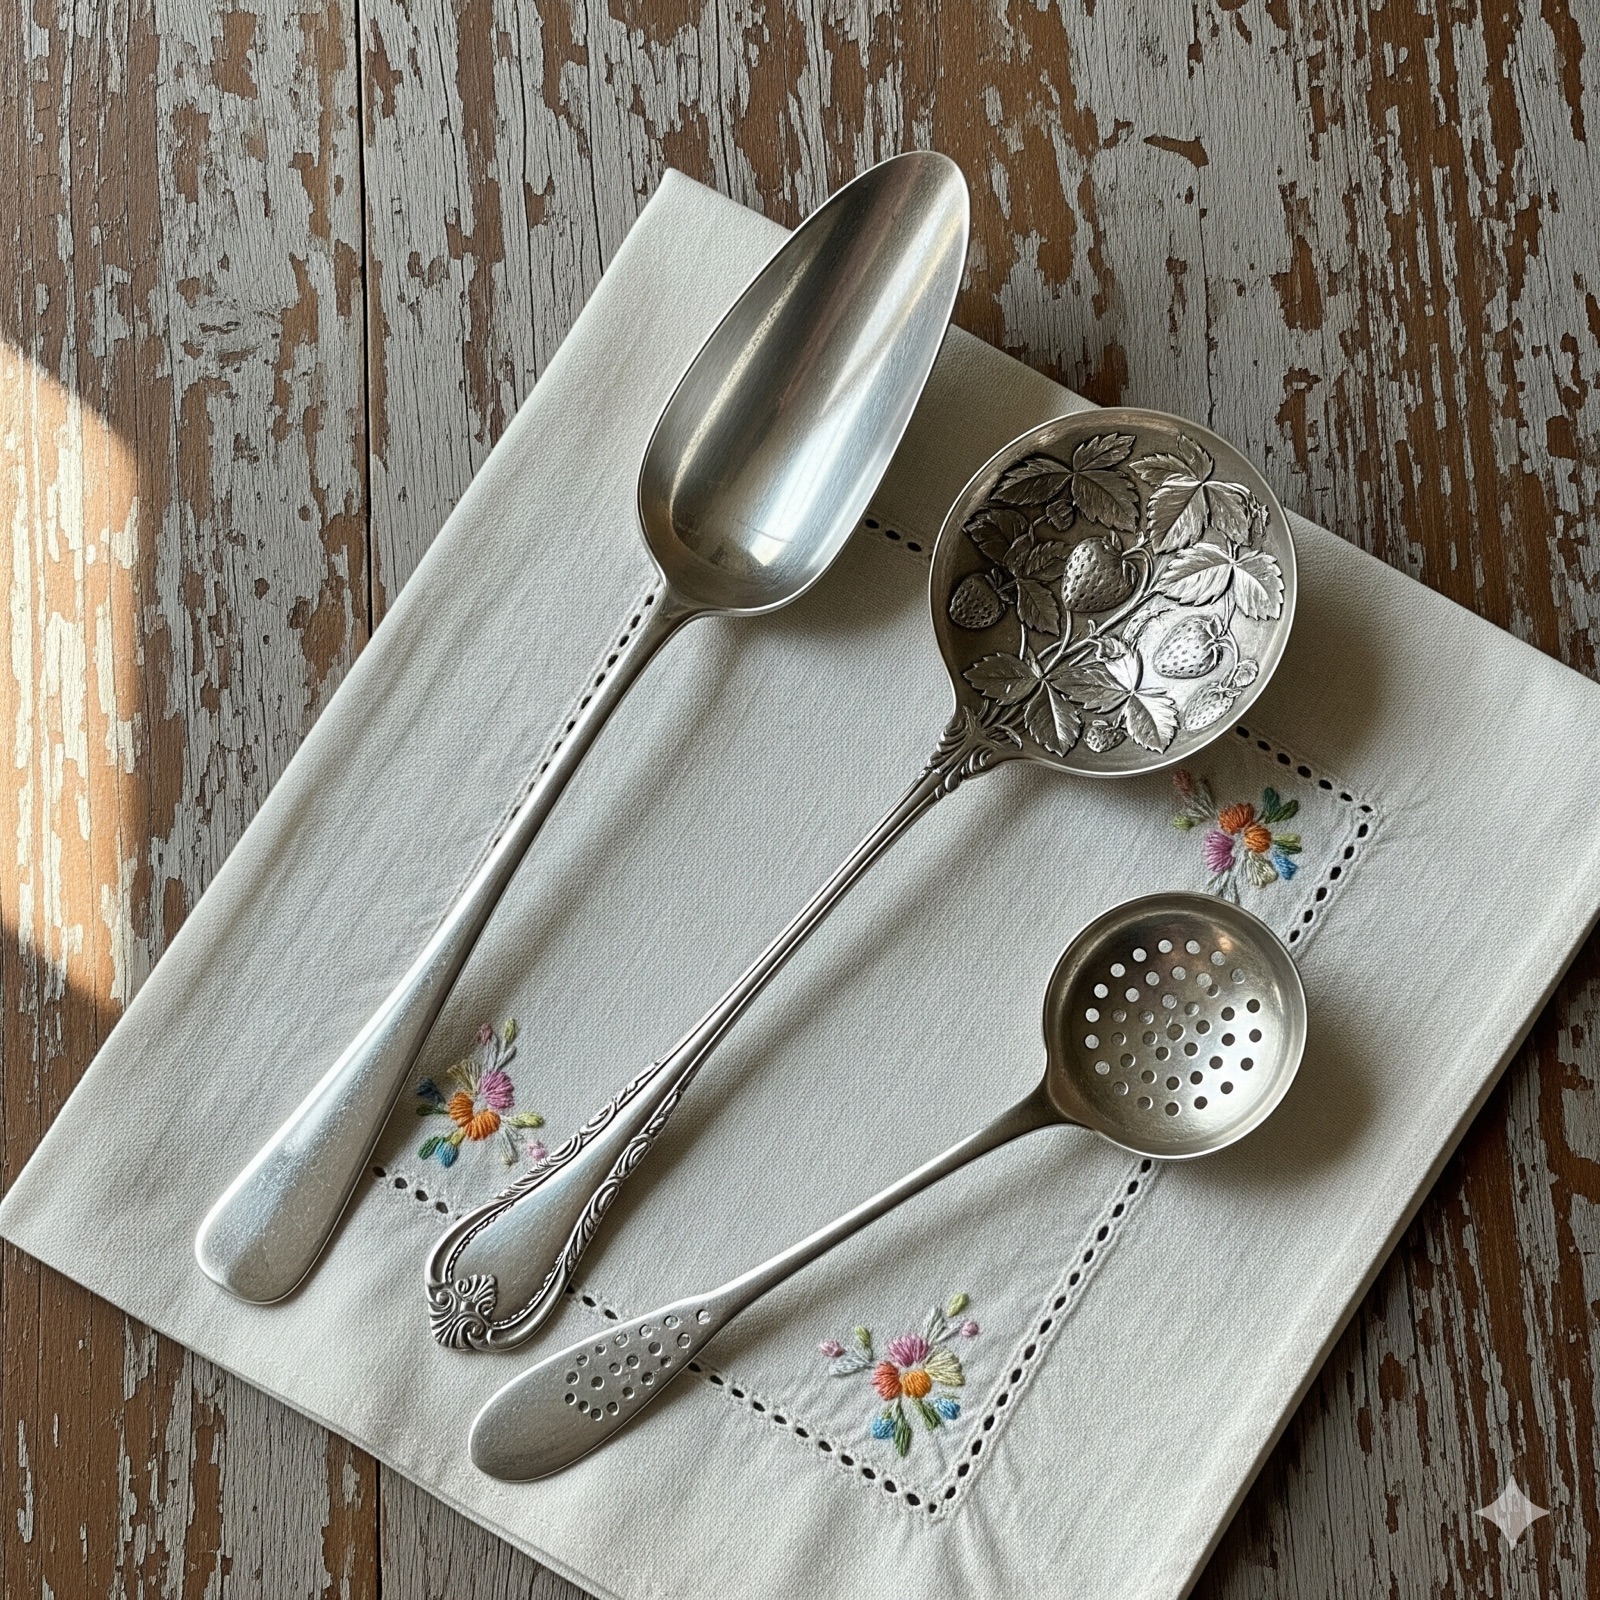
⚖️ Distinguish Tarnish and Patina
First, we must distinguish between two kinds of “black”:
- Tarnish (Oxidation/Sulfurization): This is the reaction of silver with sulfur in the air, forming black or yellow spots, usually looking dirty and unevenly distributed. This is what we need to remove.
- Patina: This is the gray-black oxide layer formed in the grooves and deep scratches of silverware after decades or even hundreds of years of use, as well as the soft luster formed by countless fine scratches on the surface. This is the soul of antiques! It makes the pattern more three-dimensional and the luster warmer.
Principle: We want to remove Tarnish, but defend Patina to the death.
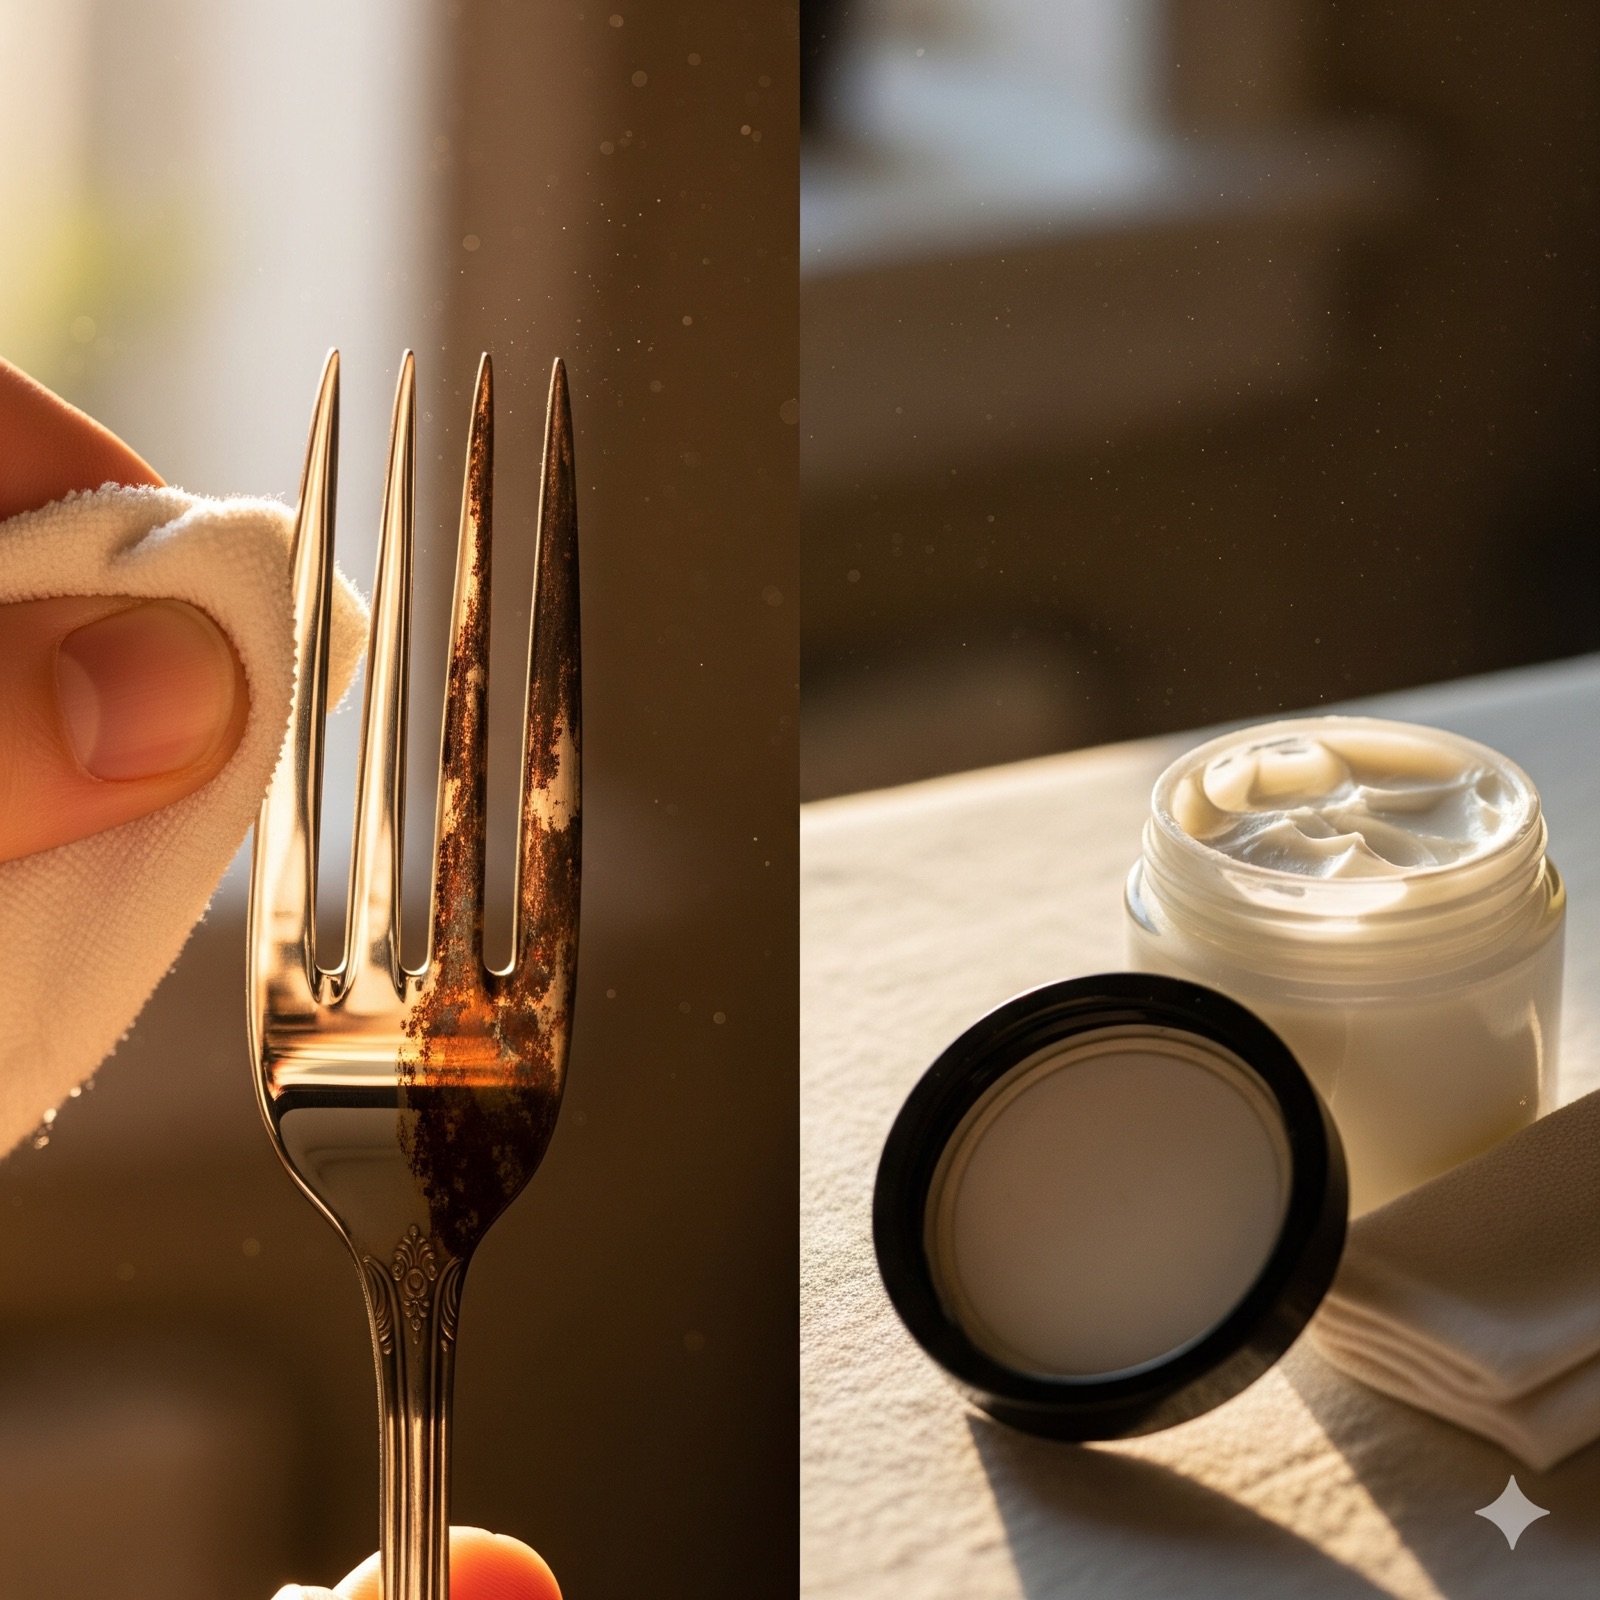
❌ Absolutely Forbidden: Silver Dip
The liquid on the market that turns silver white as soon as you dip it in is the killer of antique silverware.
- It is a strong acid that will instantly strip off all oxide layers, including those precious Patina.
- It can make silverware white, but that white is Dead White, without any texture, and it will turn yellow faster in the future.
- It will corrode the black antiquing process on silverware (such as Niello or Georg Jensen’s oxidation layer).
❌ Use with Caution: Toothpaste
Toothpaste contains abrasive particles. It may be okay for mirror-polished modern silver jewelry, but for antique silverware, it will leave scratches that are difficult to repair.
✅ Recommended: Silver Foam/Cream and Cotton Cloth
The cleaning method recommended by R & Q is “Physical Massage”:
- Gentle Silver Cream: Such as Town Talk from the UK or Wright’s from the US. They contain extremely fine abrasives and anti-oxidation ingredients.
- Use Sponge or Fingers: Dip a small amount of cream and wipe in circles on the surface of the silverware.
- Avoid Deep Areas: Only wipe the raised highlight parts, keeping the black in the depressions. Only in this way will the polished silverware have a three-dimensional sense.
- Rinse with Warm Water: Be sure to thoroughly rinse off the residual cream, especially in the pattern gaps.
- Dry Thoroughly: Water stains are the enemy of silverware.
Remember: A perfect piece of antique silver should be distinct in black and white, with a soft luster, not shining like a chrome faucet just out of the factory.